
【环境搭建:onnx模型部署】onnxruntime-gpu安装与测试(python)(1)
【代码】【环境搭建:onnx模型部署】onnxruntime-gpu安装与测试(python)(1)
cuda==10.2
cudnn==8.0.3
onnxruntime-gpu==1.5.0 or 1.6.0
pip install onnxruntime-gpu==1.6.0
### 2.2 方法二:onnxruntime-gpu不依赖于本地主机上cuda和cudnn


在 conda 环境中安装,不依赖于 本地主机 上已安装的 cuda 和 cudnn 版本,灵活方便。这里,先说一下已经测试通过的组合:


* python3.6, cudatoolkit10.2.89, cudnn7.6.5, onnxruntime-gpu1.4.0
* python3.8, cudatoolkit11.3.1, cudnn8.2.1, onnxruntime-gpu1.14.1


如果需要其他的版本, 可以根据 onnxruntime-gpu, cuda, cudnn 三者对应关系自行组合测试。


下面,从创建conda环境,到实现在GPU上加速onnx模型推理进行举例。


#### 2.2.1 举例:创建onnxruntime-gpu==1.14.1的conda环境
创建conda环境
conda create -n torch python=3.8
激活conda环境
source activate torch
conda install pytorch1.10.0 torchvision0.11.0 torchaudio0.10.0 cudatoolkit=11.3 -c pytorch -c conda-forge
conda install cudnn8.2.1
pip install onnxruntime-gpu==1.14.1
pip install … (根据需求,安装其他的包)
#### 2.2.2 举例:实例测试
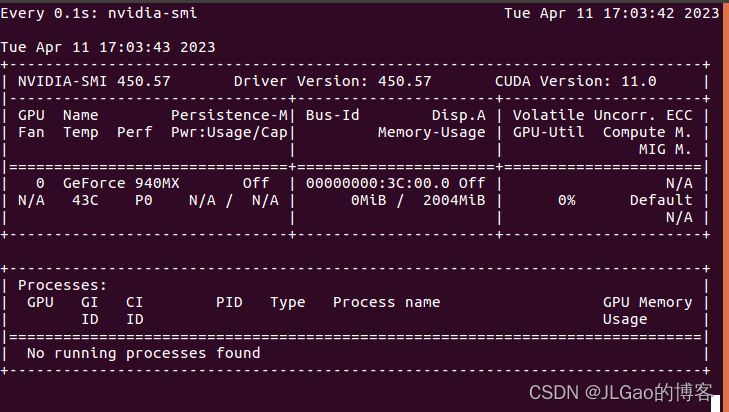
* 打开终端,输入 **watch -n 0.1 nvidia-smi**, 实时查看gpu使用情况
* 代码测试,摘取[API]( )
import numpy as np
import torch
import onnxruntime
MODEL_FILE = ‘.model.onnx’
DEVICE_NAME = ‘cuda’ if torch.cuda.is_available() else ‘cpu’
DEVICE_INDEX = 0
DEVICE=f’{DEVICE_NAME}:{DEVICE_INDEX}’
A simple model to calculate addition of two tensors
def model():
class Model(torch.nn.Module):
def __init__(self):
super(Model, self).init()
      def forward(self, x, y):
          return x.add(y)

  return Model()
Create an instance of the model and export it to ONNX graph format
def create_model(type: torch.dtype = torch.float32):
sample_x = torch.ones(3, dtype=type)
sample_y = torch.zeros(3, dtype=type)
torch.onnx.export(model(), (sample_x, sample_y), MODEL_FILE,
input_names=[“x”, “y”], output_names=[“z”],
dynamic_axes={“x”:{0 : “array_length_x”}, “y”:{0: “array_length_y”}})
Create an ONNX Runtime session with the provided model
def create_session(model: str) -> onnxruntime.InferenceSession:
providers = [‘CPUExecutionProvider’]
if torch.cuda.is_available():
providers.insert(0, ‘CUDAExecutionProvider’)
return onnxruntime.InferenceSession(model, providers=providers)
Run the model on CPU consuming and producing numpy arrays
def run(x: np.array, y: np.array) -> np.array:
session = create_session(MODEL_FILE)
z = session.run([“z”], {“x”: x, “y”: y})
return z[0]
Run the model on device consuming and producing ORTValues
def run_with_data_on_device(x: np.array, y: np.array) -> onnxruntime.OrtValue:
session = create_session(MODEL_FILE)
  x_ortvalue = onnxruntime.OrtValue.ortvalue_from_numpy(x, DEVICE_NAME, DEVICE_INDEX)
  y_ortvalue = onnxruntime.OrtValue.ortvalue_from_numpy(y, DEVICE_NAME, DEVICE_INDEX)

  io_binding = session.io_binding()
  io_binding.bind_input(name='x', device_type=x_ortvalue.device_name(), device_id=0, element_type=x.dtype, shape=x_ortvalue.shape(), buffer_ptr=x_ortvalue.data_ptr())
  io_binding.bind_input(name='y', device_type=y_ortvalue.device_name(), device_id=0, element_type=y.dtype, shape=y_ortvalue.shape(), buffer_ptr=y_ortvalue.data_ptr())
  io_binding.bind_output(name='z', device_type=DEVICE_NAME, device_id=DEVICE_INDEX, element_type=x.dtype, shape=x_ortvalue.shape())
  session.run_with_iobinding(io_binding)

  z = io_binding.get_outputs()

  return z[0]
def main():
create_model()
# print(run(x=np.float32([1.0, 2.0, 3.0]),y=np.float32([4.0, 5.0, 6.0])))
  t1 = time.time()
  print(run(x=np.float32([1.0, 2.0, 3.0]),y=np.float32([4.0, 5.0, 6.0])))
  # [array([5., 7., 9.], dtype=float32)]t1 = time.time()
  t2 = time.time()

  print(run_with_data_on_device(x=np.float32([1.0, 2.0, 3.0, 4.0, 5.0]), y=np.float32([1.0, 2.0, 3.0, 4.0, 5.0])).numpy())
  # [ 2. 4. 6. 8. 10.]
  t3 = time.time()

  print(f'Done. ({(1E3 \* (t2 - t1)):.1f}ms) Inference.')
  print(f'Done. ({(1E3 \* (t3 - t2)):.1f}ms) Inference.')
if name == “__main__”:
main()
**自我介绍一下,小编13年上海交大毕业,曾经在小公司待过,也去过华为、OPPO等大厂,18年进入阿里一直到现在。**
**深知大多数Python工程师,想要提升技能,往往是自己摸索成长或者是报班学习,但对于培训机构动则几千的学费,着实压力不小。自己不成体系的自学效果低效又漫长,而且极易碰到天花板技术停滞不前!**
**因此收集整理了一份《2024年Python开发全套学习资料》,初衷也很简单,就是希望能够帮助到想自学提升又不知道该从何学起的朋友,同时减轻大家的负担。**


**既有适合小白学习的零基础资料,也有适合3年以上经验的小伙伴深入学习提升的进阶课程,基本涵盖了95%以上前端开发知识点,真正体系化!**
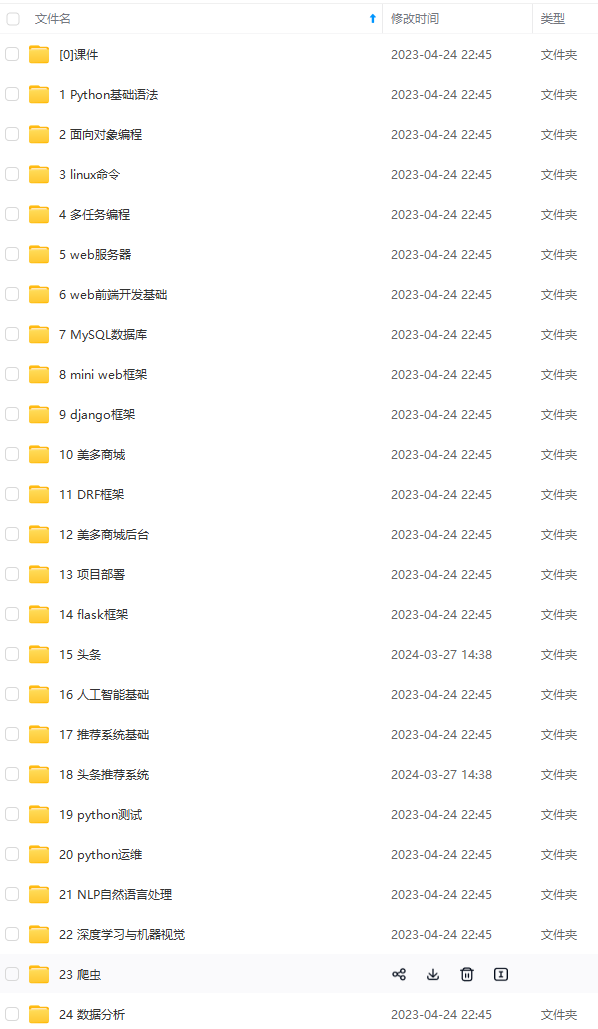
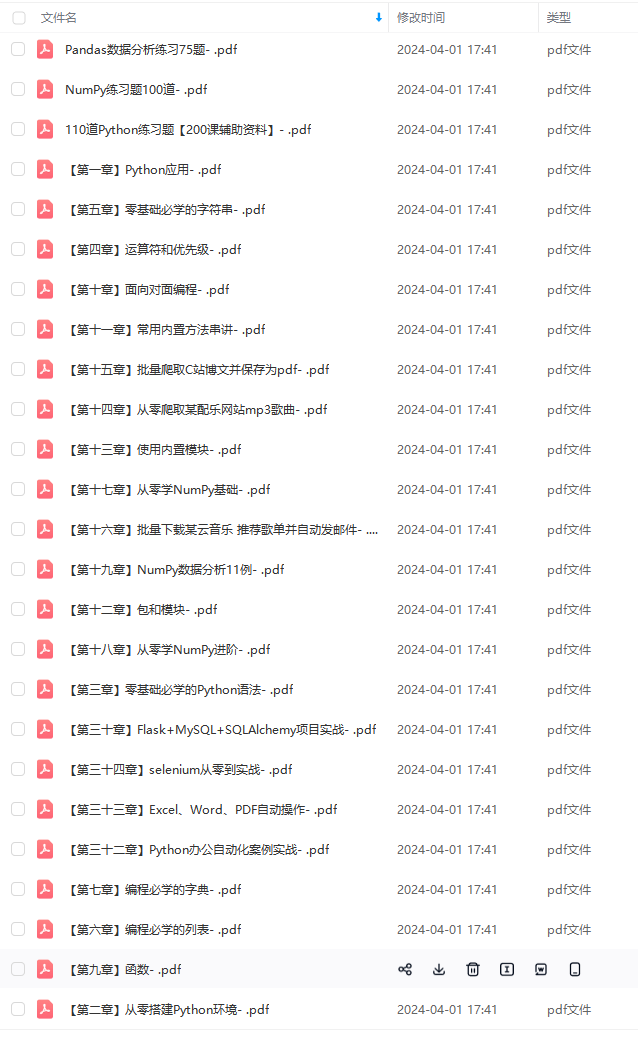
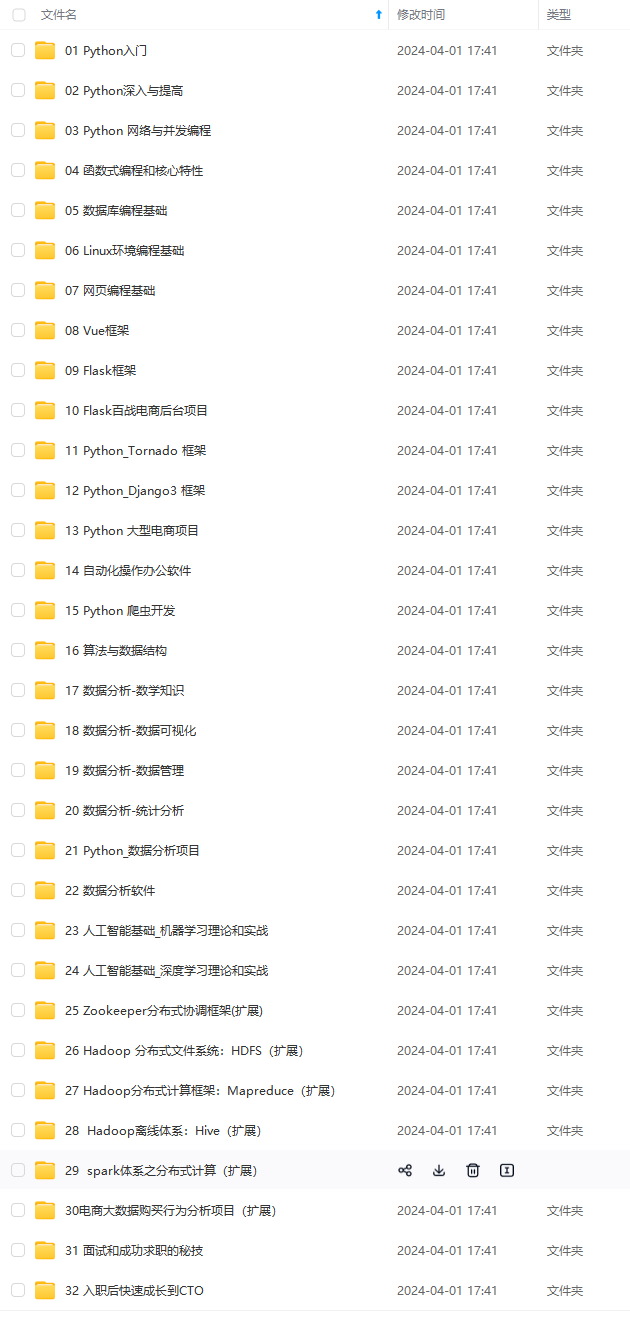
**由于文件比较大,这里只是将部分目录大纲截图出来,每个节点里面都包含大厂面经、学习笔记、源码讲义、实战项目、讲解视频,并且后续会持续更新**
**如果你觉得这些内容对你有帮助,可以扫码获取!!!(备注Python)**
习提升的进阶课程,基本涵盖了95%以上前端开发知识点,真正体系化!**
**由于文件比较大,这里只是将部分目录大纲截图出来,每个节点里面都包含大厂面经、学习笔记、源码讲义、实战项目、讲解视频,并且后续会持续更新**
**如果你觉得这些内容对你有帮助,可以扫码获取!!!(备注Python)**
<img src="https://img-community.csdnimg.cn/images/fd6ebf0d450a4dbea7428752dc7ffd34.jpg" alt="img" style="zoom:50%;" />
更多推荐
 14
14 0
0- 0


 已为社区贡献1条内容

所有评论(0)