
基于YOLOv5算法的金属缺陷自动检测系统(源码+定制+讲解)YOLOv5金属缺陷检测系统、OpenCV金属缺陷识别、深度学习金属缺陷检测、实时金属缺陷检测系统
博主介绍:✌我是阿龙,一名专注于Java技术领域的程序员,全网拥有10W+粉丝。作为CSDN特邀作者、博客专家、新星计划导师,我在计算机毕业设计开发方面积累了丰富的经验。同时,我也是掘金、华为云、阿里云、InfoQ等平台的优质作者。通过长期分享和实战指导,我致力于帮助更多学生完成毕业项目和技术提升。技术范围:我熟悉的技术领域涵盖SpringBoot、Vue、SSM、HLMT、Jsp、PHP、Nod
博主介绍:
✌我是阿龙,一名专注于Java技术领域的程序员,全网拥有10W+粉丝。作为CSDN特邀作者、博客专家、新星计划导师,我在计算机毕业设计开发方面积累了丰富的经验。同时,我也是掘金、华为云、阿里云、InfoQ等平台的优质作者。通过长期分享和实战指导,我致力于帮助更多学生完成毕业项目和技术提升。技术范围:
我熟悉的技术领域涵盖SpringBoot、Vue、SSM、HLMT、Jsp、PHP、Nodejs、Python、爬虫、数据可视化、小程序、安卓app、大数据、物联网、机器学习等方面的设计与开发。如果你有任何技术难题,我都乐意与你分享解决方案。为什么选择阅读我:
我是程序阿龙,专注于软件开发,拥有丰富的编程能力和实战经验。在过去的几年里,我辅导了上千名学生,帮助他们顺利完成毕业项目,同时我的技术分享也吸引了超过50W+的粉丝。我是CSDN特邀作者、博客专家、新星计划导师,并在Java领域内获得了多项荣誉,如博客之星。我的作品也被掘金、华为云、阿里云、InfoQ等多个平台推荐,成为各大平台的优质作者。
🍅获取源码请在文末联系我🍅


目录:
一、详细操作演示视频
在文章的尾声,您会发现一张电子名片👤,欢迎通过名片上的联系方式与我取得联系,以获取更多关于项目演示的详尽视频内容。视频将帮助您全面理解项目的关键点和操作流程。期待与您的进一步交流!
 关键技术与方案!!
研究背景与意义
研究背景
随着工业化的快速推进,金属制品的应用范围不断扩大,涵盖航空航天、建筑工程、汽车制造等诸多领域。然而,由于金属材料的特殊性质,如易受腐蚀、疲劳以及热胀冷缩的影响,金属制品在实际使用中容易产生裂纹、气孔和夹杂物等缺陷。这些缺陷不仅会削弱金属制品的机械性能,还可能导致设备故障或安全事故,从而造成严重的经济损失。因此,金属缺陷的检测和评估在工业生产中具有举足轻重的地位。
传统的金属缺陷检测方法主要依赖人工检测,这种方式在精确性和效率上存在明显不足。首先,人工检测耗费大量时间和人力资源,特别是在需要大批量生产的工业场景中难以满足高效需求。其次,检测结果往往因个体差异受到主观因素的影响,导致不一致性和漏检问题。此外,人眼对细微缺陷的识别能力有限,容易忽略潜在隐患。显然,传统检测手段难以适应现代工业对高精度、高效率检测的需求。
研究意义
在计算机视觉技术迅猛发展的背景下,基于深度学习的目标检测算法为金属缺陷检测提供了全新的解决方案。尤其是YOLO(You Only Look Once)系列算法,因其高效性和精准性,已在目标检测领域展现出巨大潜力。结合计算机视觉工具如OpenCV,不仅可以对图像数据进行高效预处理,还能够辅助深度学习模型的训练和部署,从而实现金属缺陷检测的自动化和智能化。
基于OpenCV和YOLOv5的金属缺陷检测系统具备以下优势:
- 高效性:通过自动化图像处理与缺陷检测,大幅提高检测速度,特别是在工业化大规模生产场景中展现出显著优势。
- 高准确性:利用深度学习算法对缺陷特征进行深度挖掘,显著降低人工检测中的误判和漏检风险。
- 一致性和鲁棒性:消除人为主观判断带来的误差,提高检测结果的可靠性。
- 潜在缺陷发现:系统能够识别微小缺陷和隐患,提前预警,降低事故发生的可能性。
- 技术推动力:推动计算机视觉和深度学习技术在工业领域的应用,促进金属缺陷检测领域的技术升级。
综述
开发基于OpenCV和YOLOv5的金属缺陷检测系统,不仅能够实现对金属制品中缺陷的自动化检测,还可有效提升检测精度和效率,节约人力资源并降低生产风险。这一系统的研究将为现代工业生产提供更加智能化和可靠的解决方案,同时也为计算机视觉技术在工业领域的深化应用开辟了新的方向。这项研究在理论和实践上均具有重要意义,有望推动金属缺陷检测技术的全面革新,为工业生产提供更高水平的技术支持。
YOLOv5技术简介
YOLOv5(You Only Look Once version 5)是一个基于深度学习的目标检测算法,由Ultralytics团队开发并发布。YOLOv5延续了YOLO系列算法的高效性和精度,同时引入了许多新特性,使其在实际应用中更容易部署和优化。
YOLOv5的核心特点
-
实时性与高效性
- YOLOv5属于单阶段目标检测器,通过一次前向传播直接预测目标的类别和边界框。与双阶段方法(如Faster R-CNN)相比,YOLOv5在保持高精度的同时拥有更快的推理速度,适合实时检测场景。
-
轻量化与易用性
- YOLOv5采用PyTorch框架实现,易于理解和修改,支持模块化开发。
- 提供多种模型规模(如YOLOv5s、YOLOv5m、YOLOv5l、YOLOv5x),可以在检测精度和推理速度之间灵活权衡。
-
自动化优化
- YOLOv5内置自动混合精度(AMP)和数据增强技术,进一步提升训练效率和模型性能。
- 支持自动超参数优化,使训练过程更加高效。
-
便捷的部署
- 支持多种导出格式,包括ONNX、TensorRT、CoreML等,可以轻松部署在嵌入式设备、云端服务或移动端。
- 通过支持动态尺寸调整和量化技术,YOLOv5能够显著降低推理时间和模型体积。

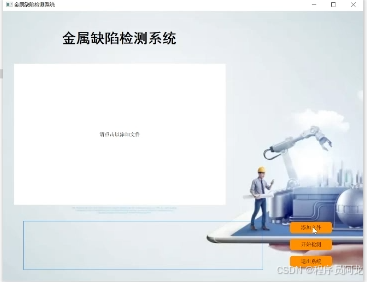
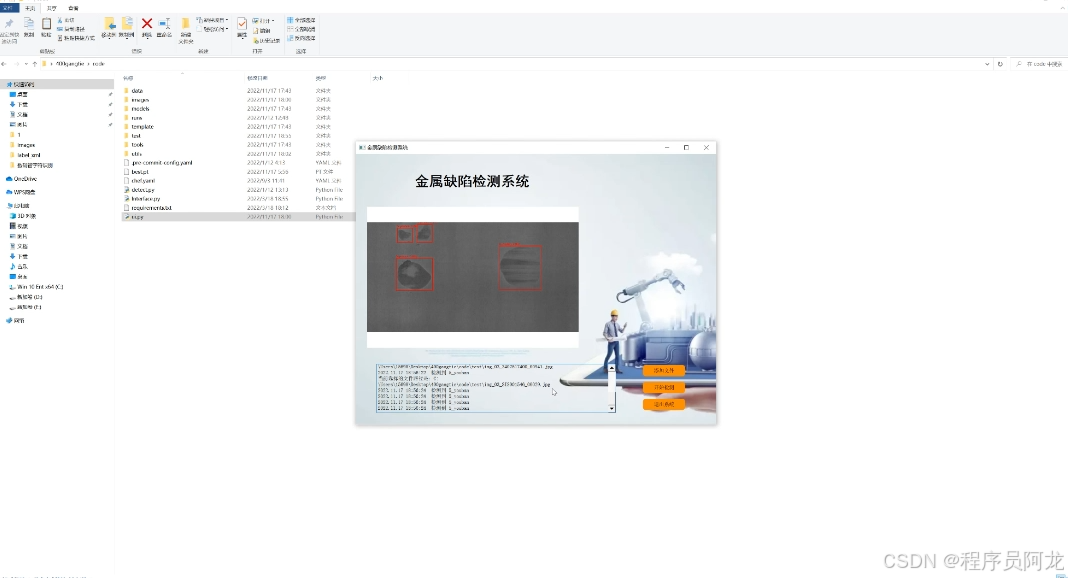
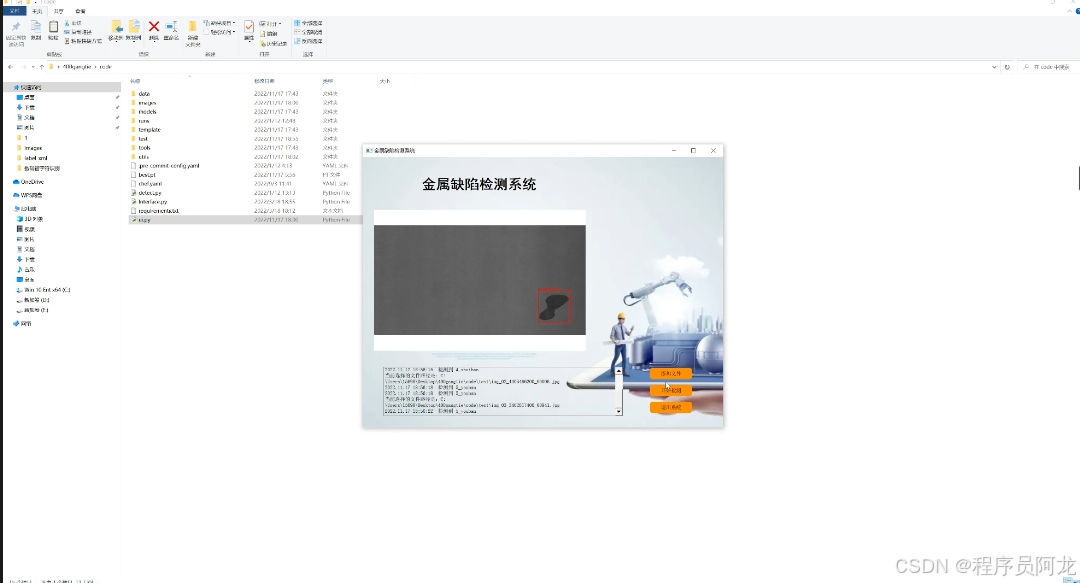
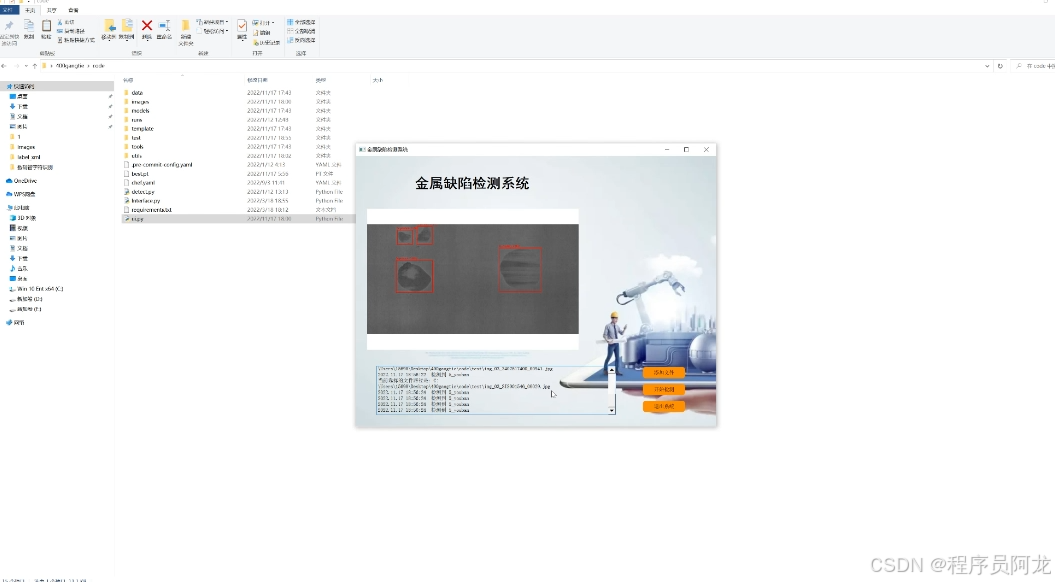
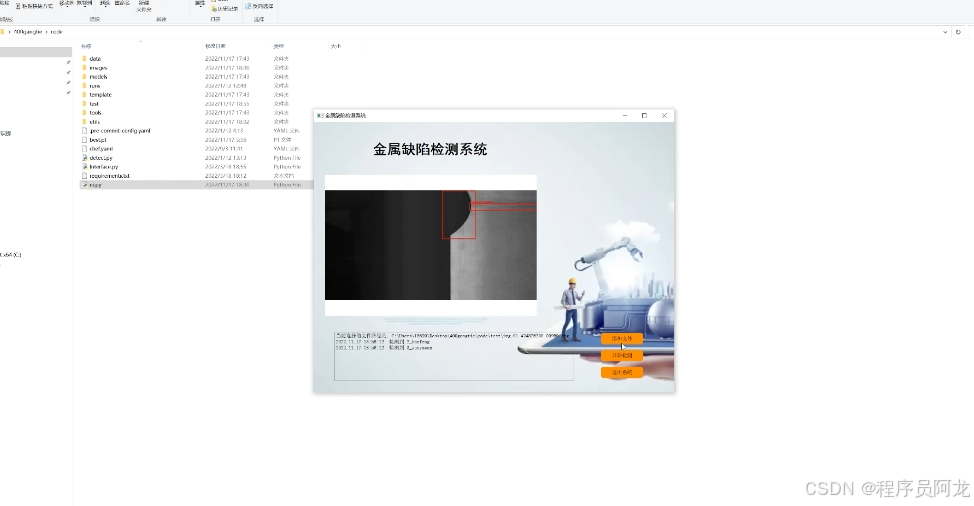
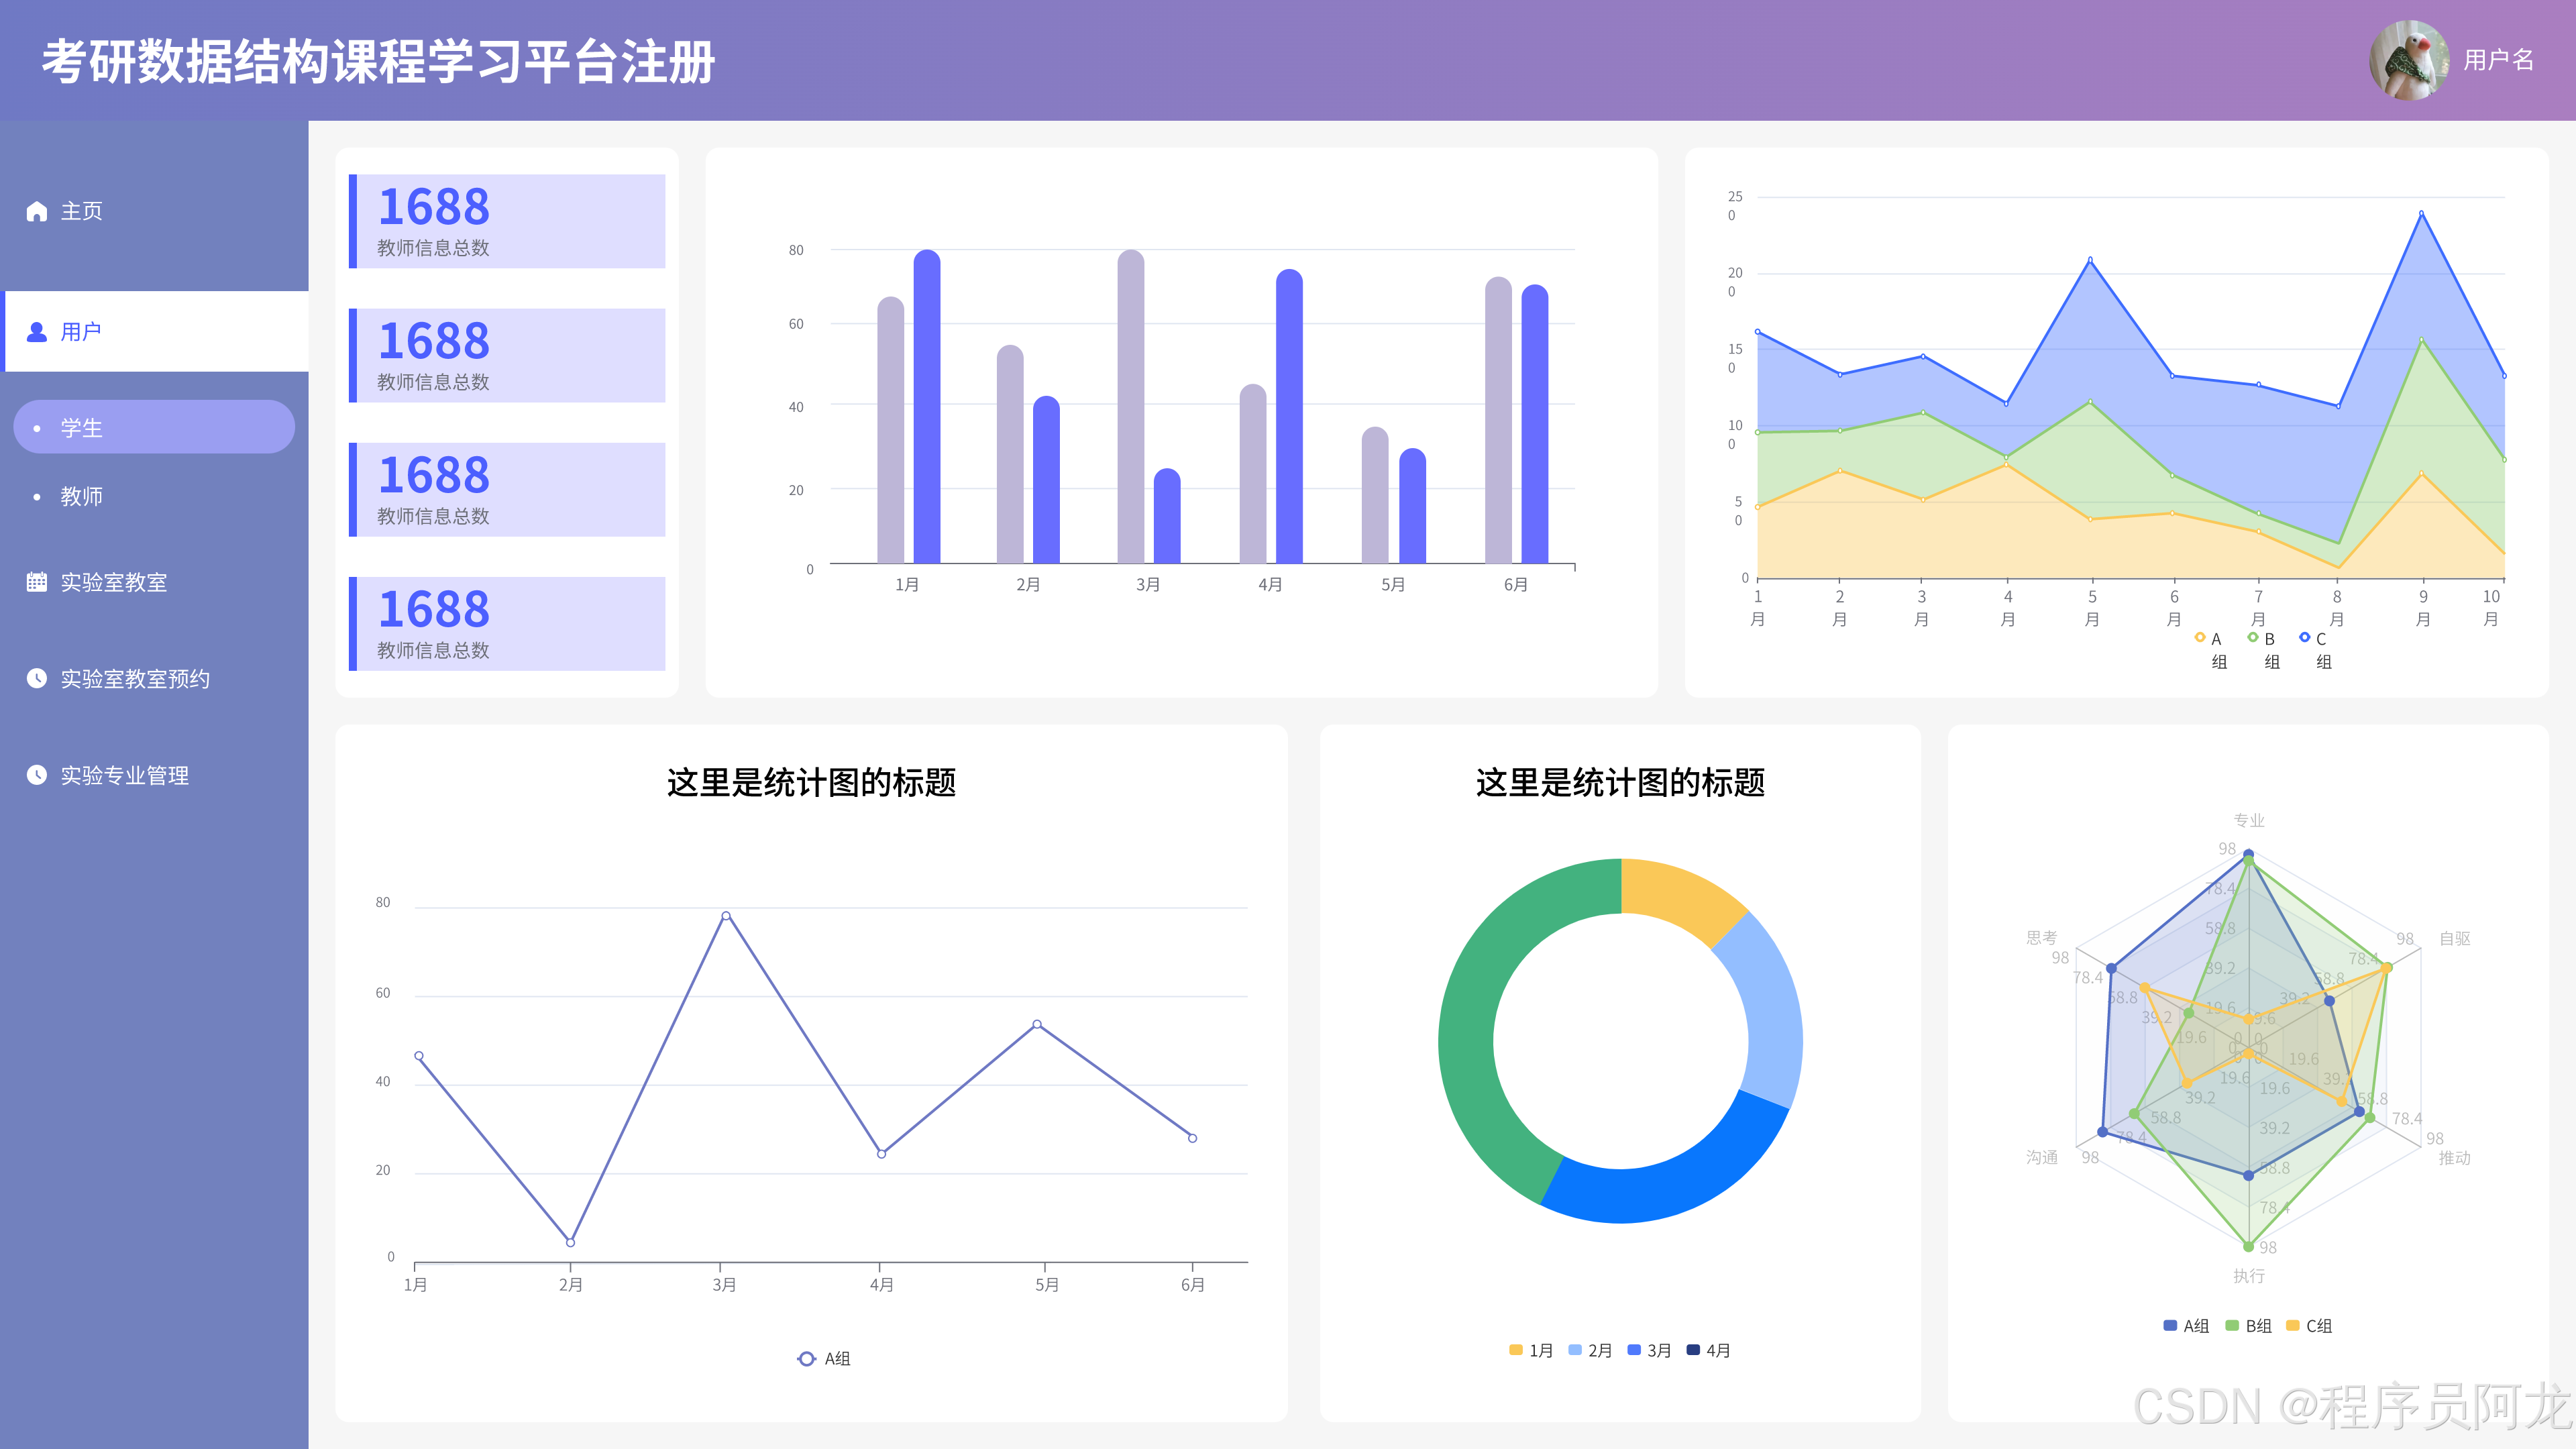
系统实现界面:

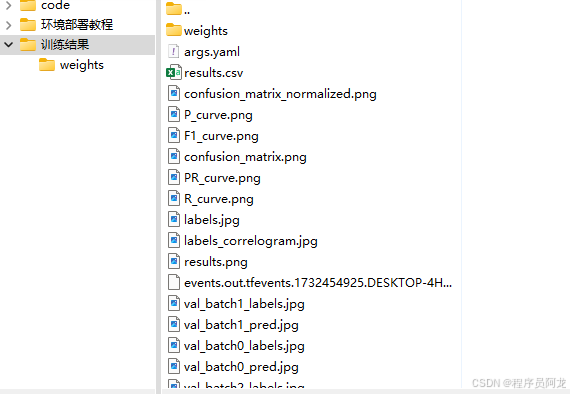
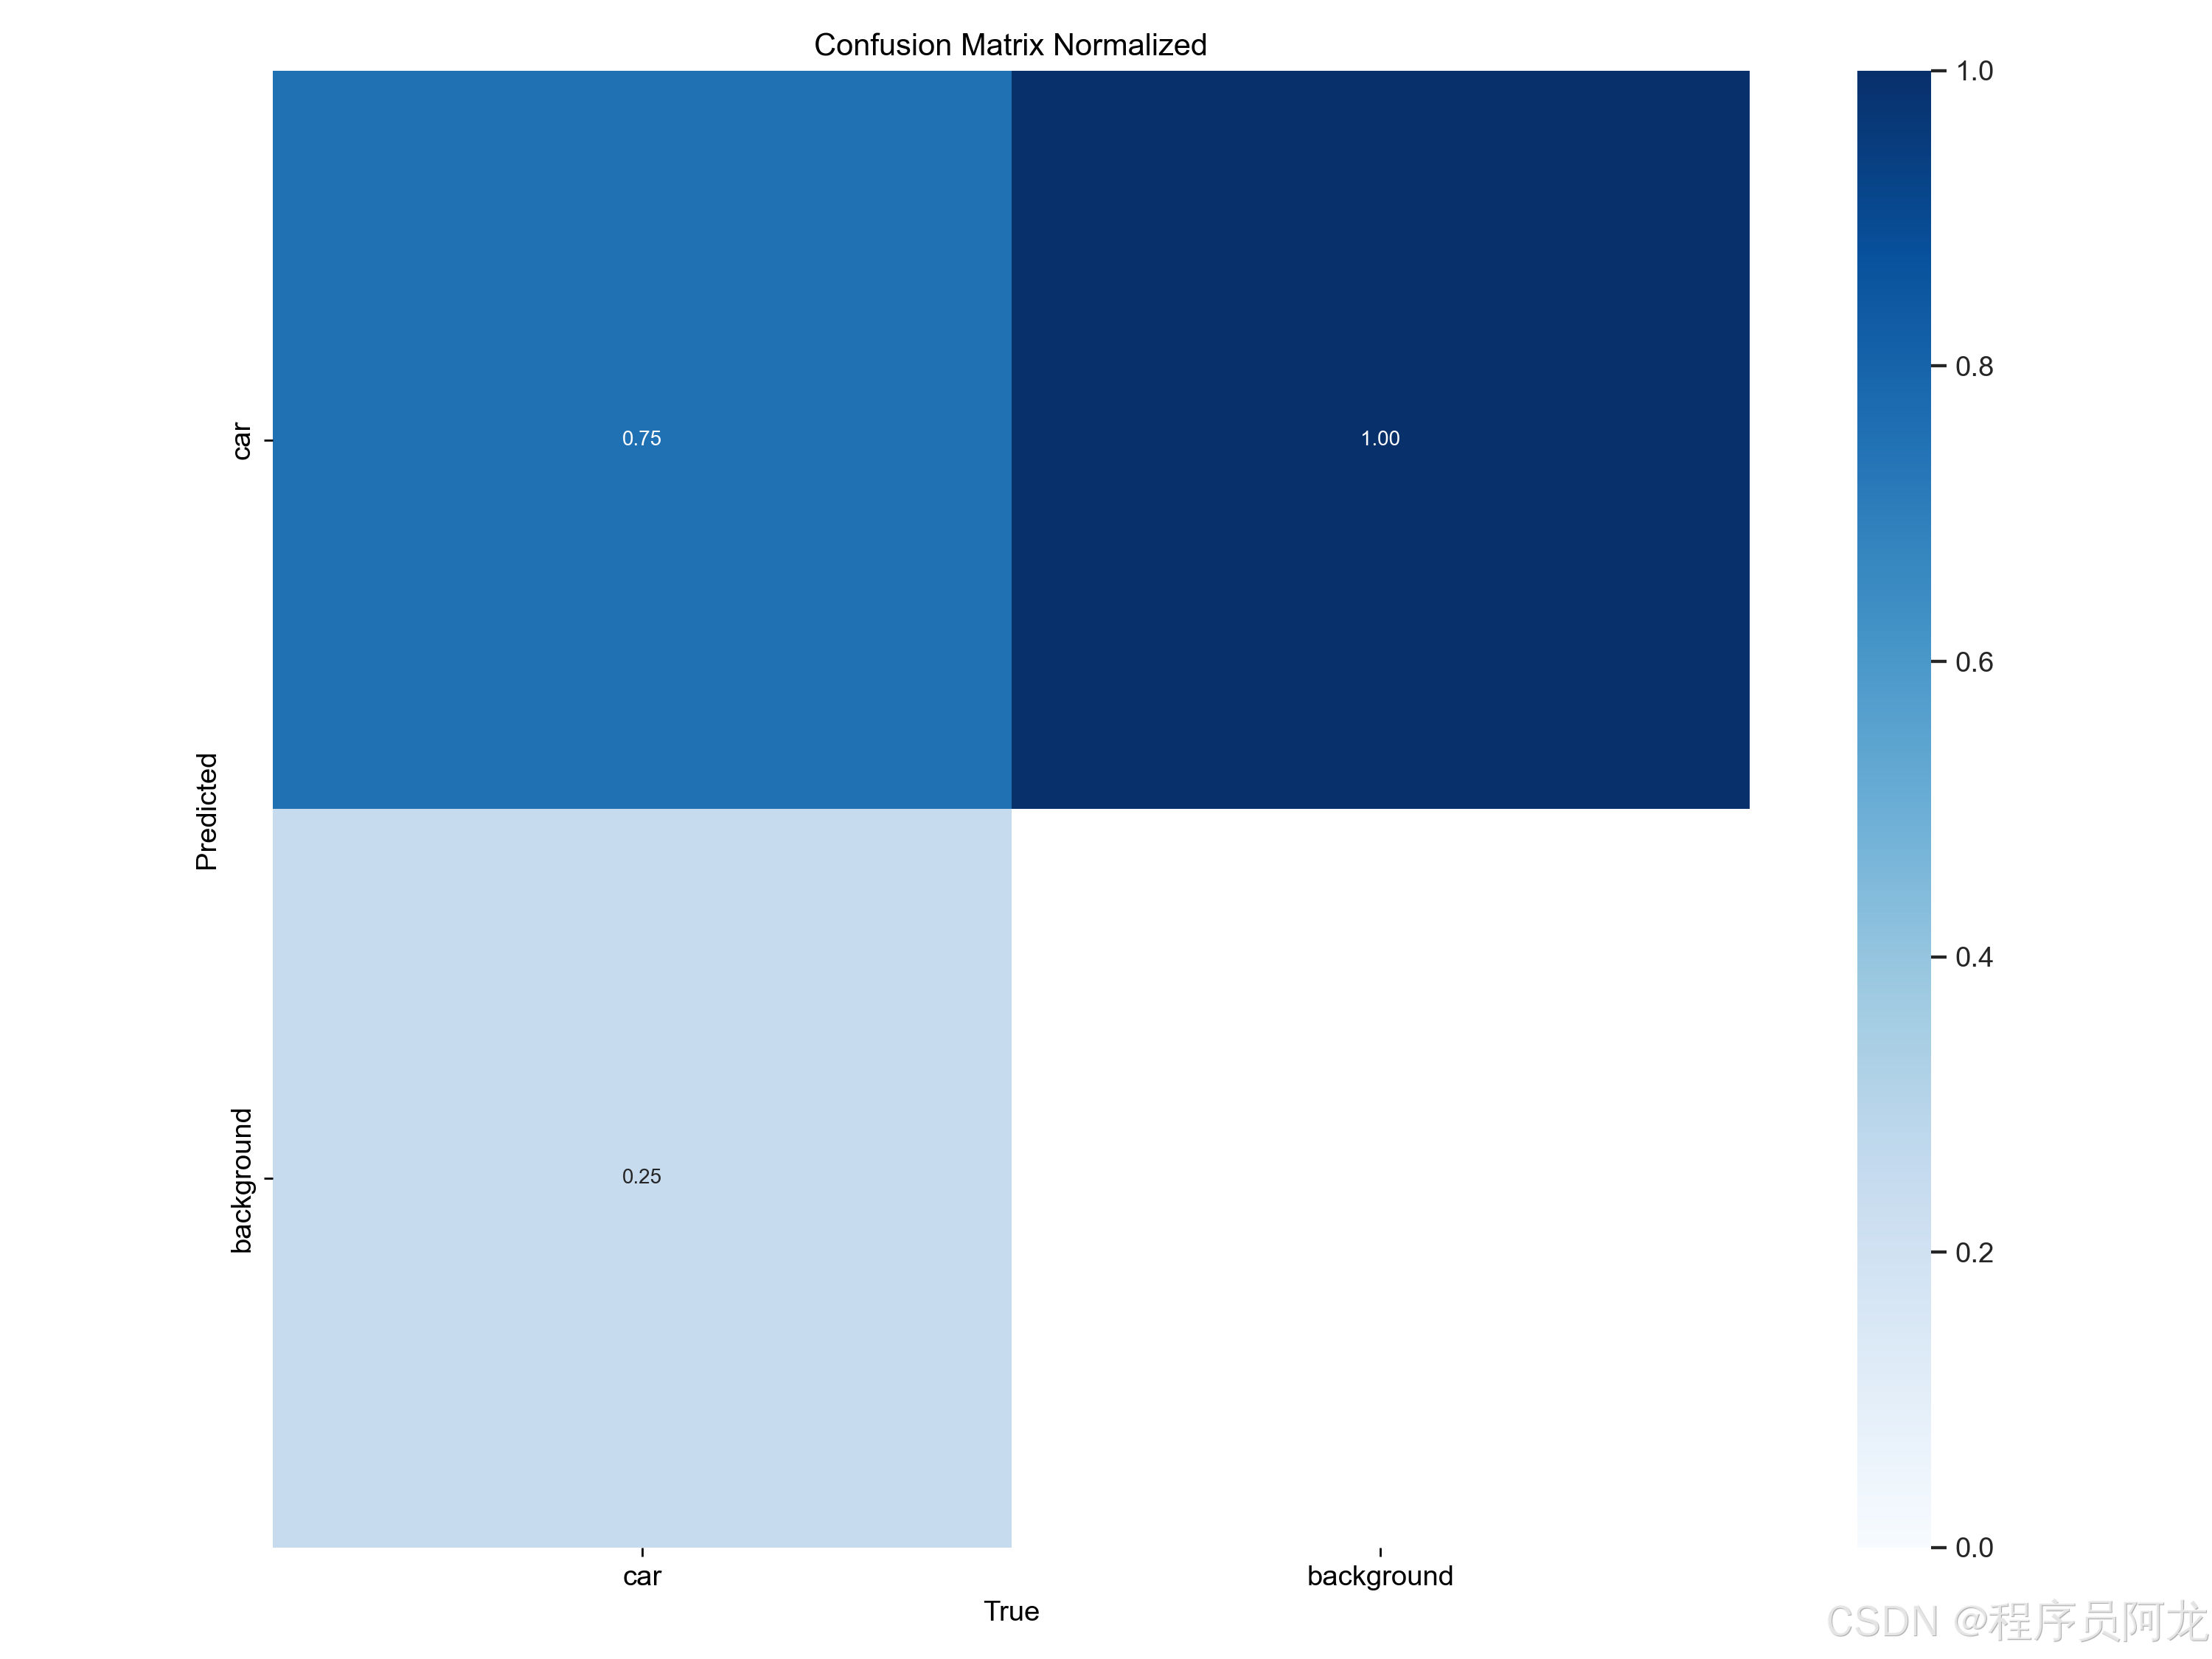
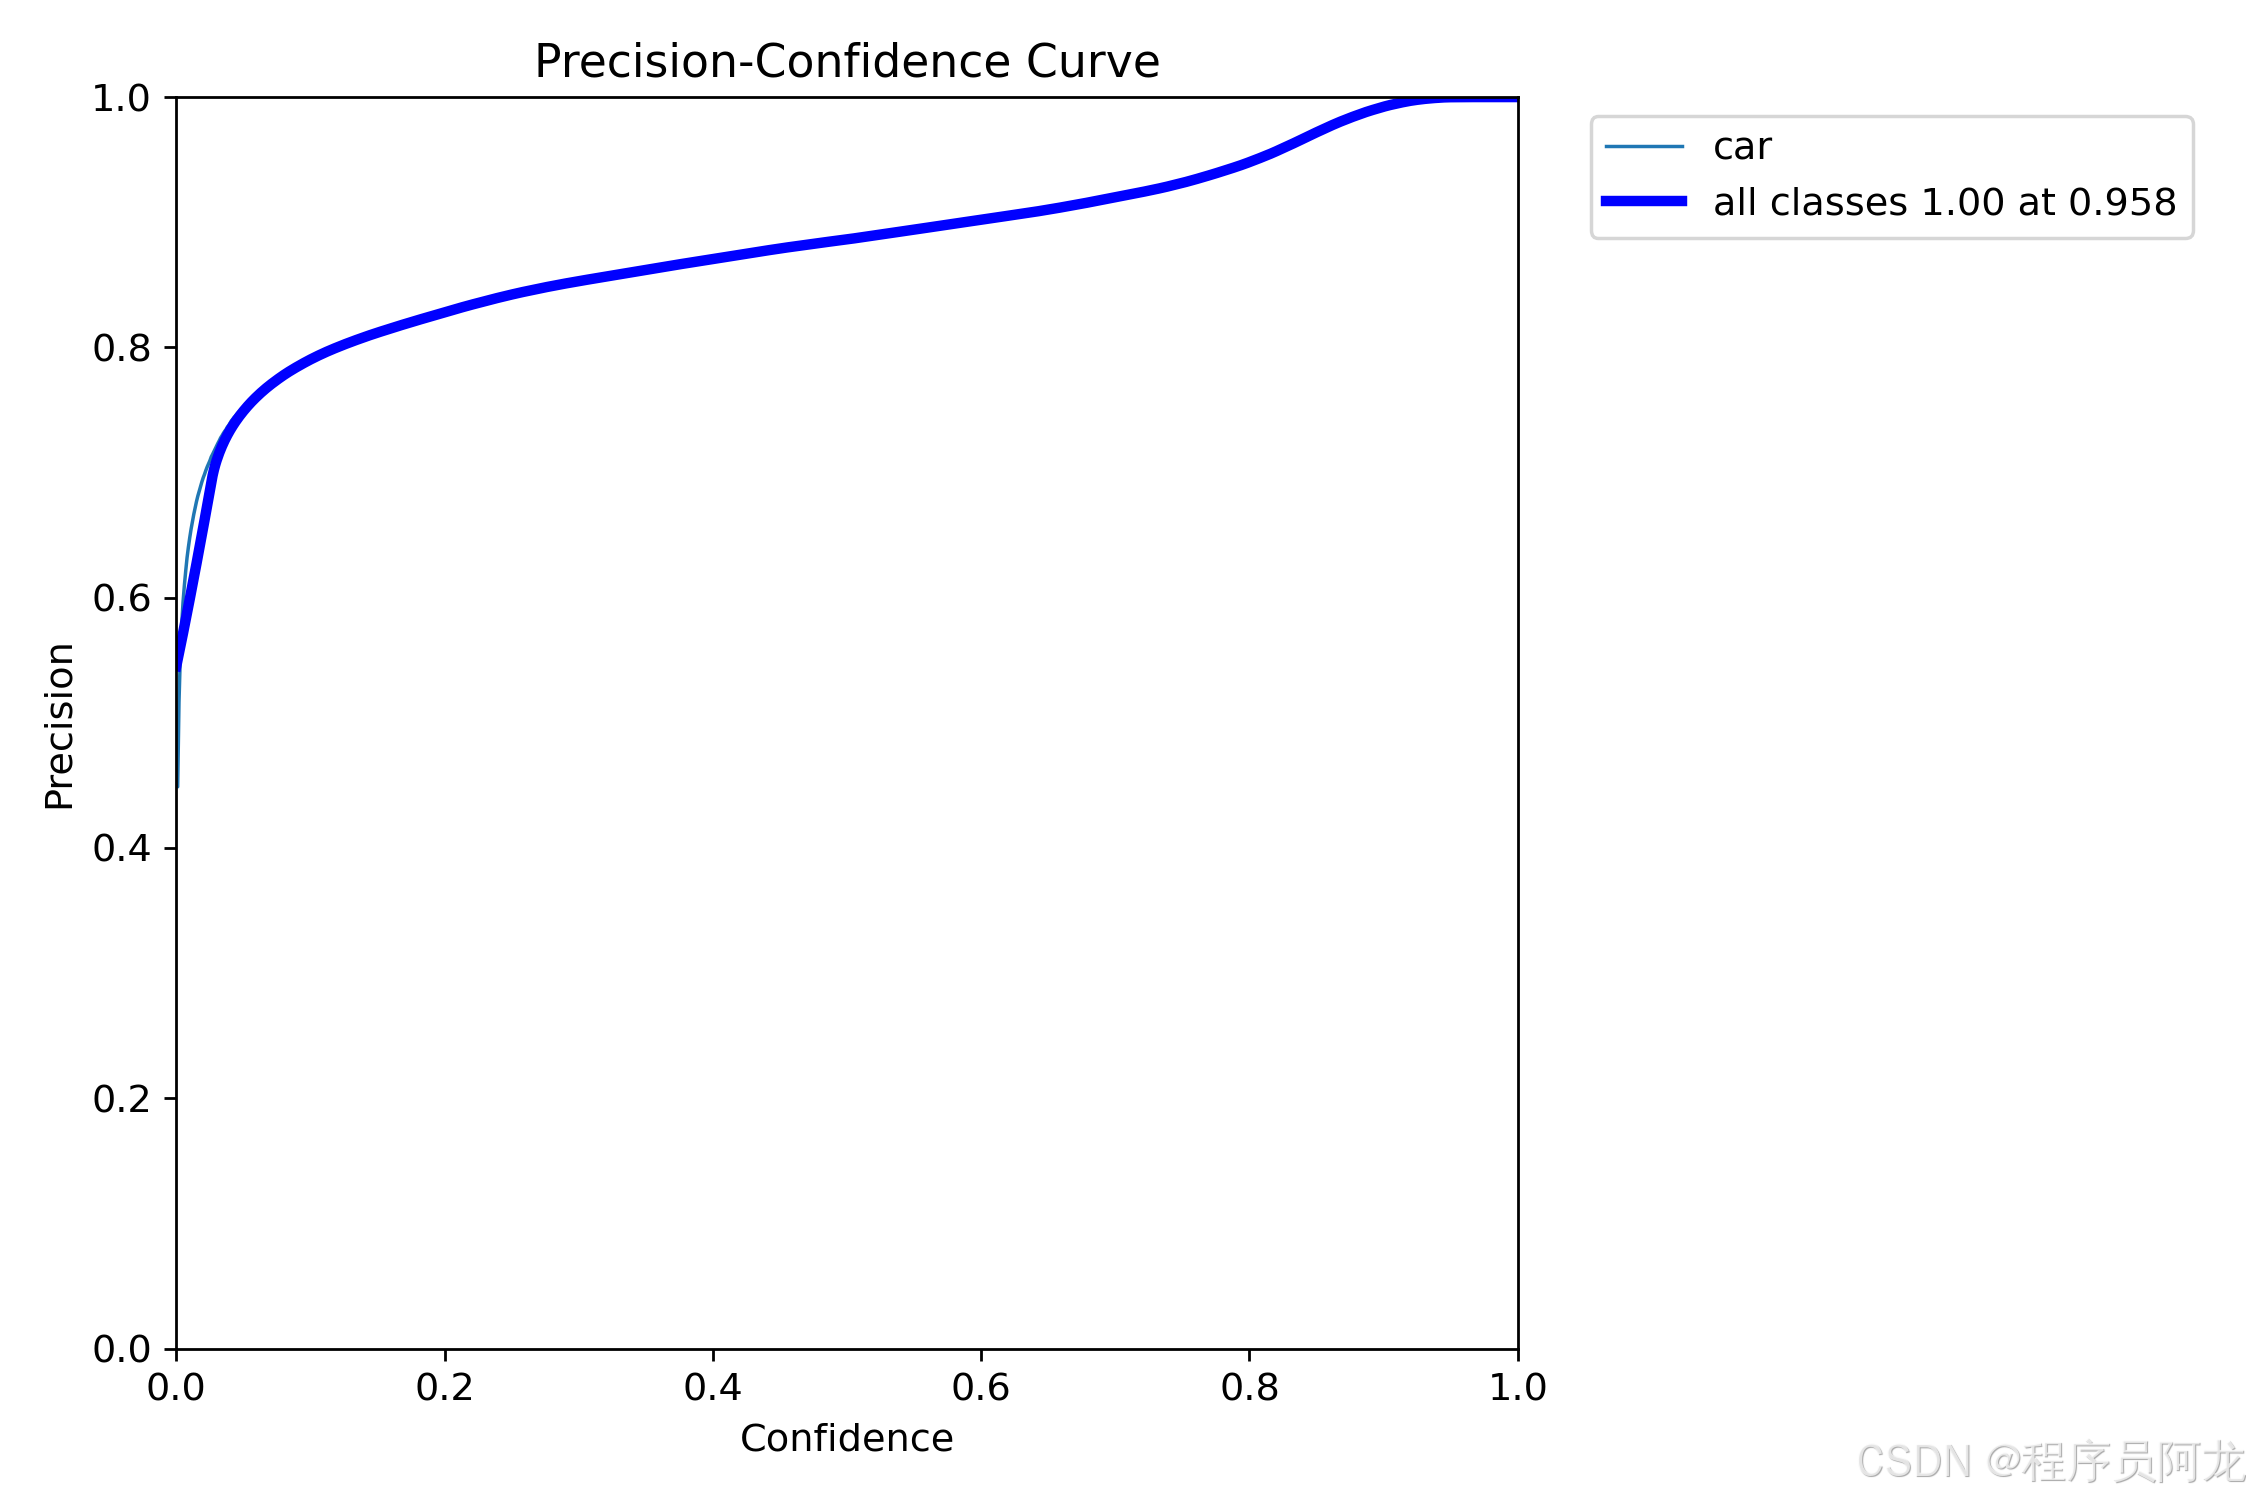
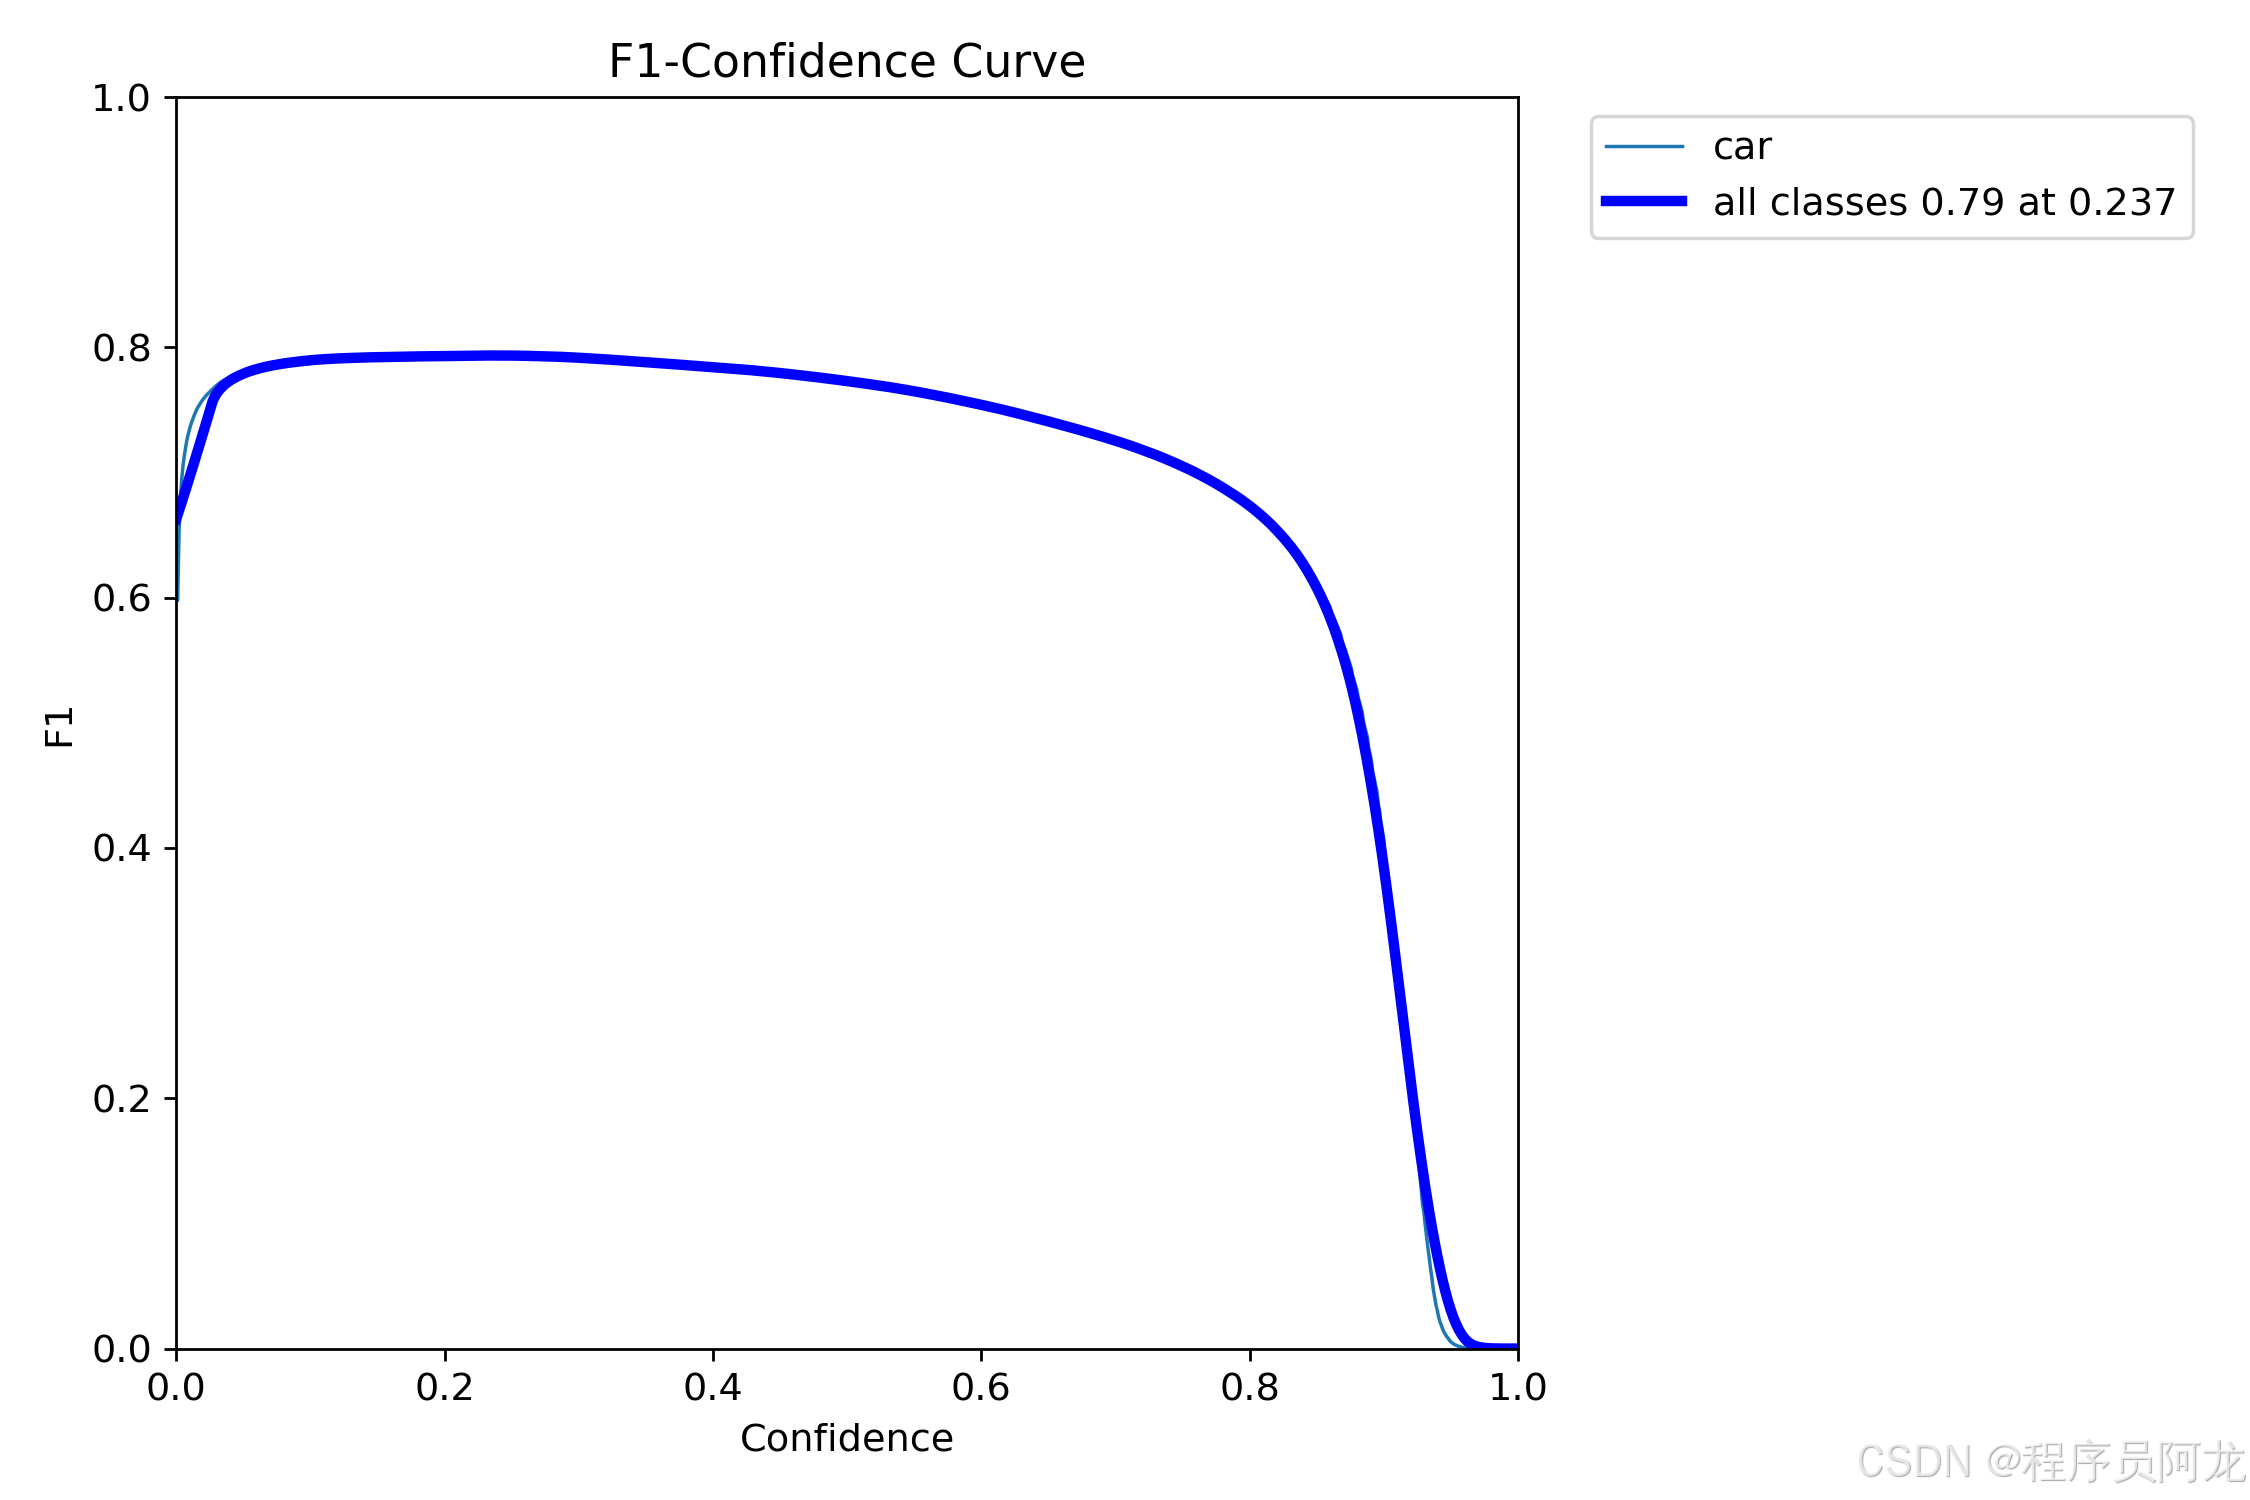
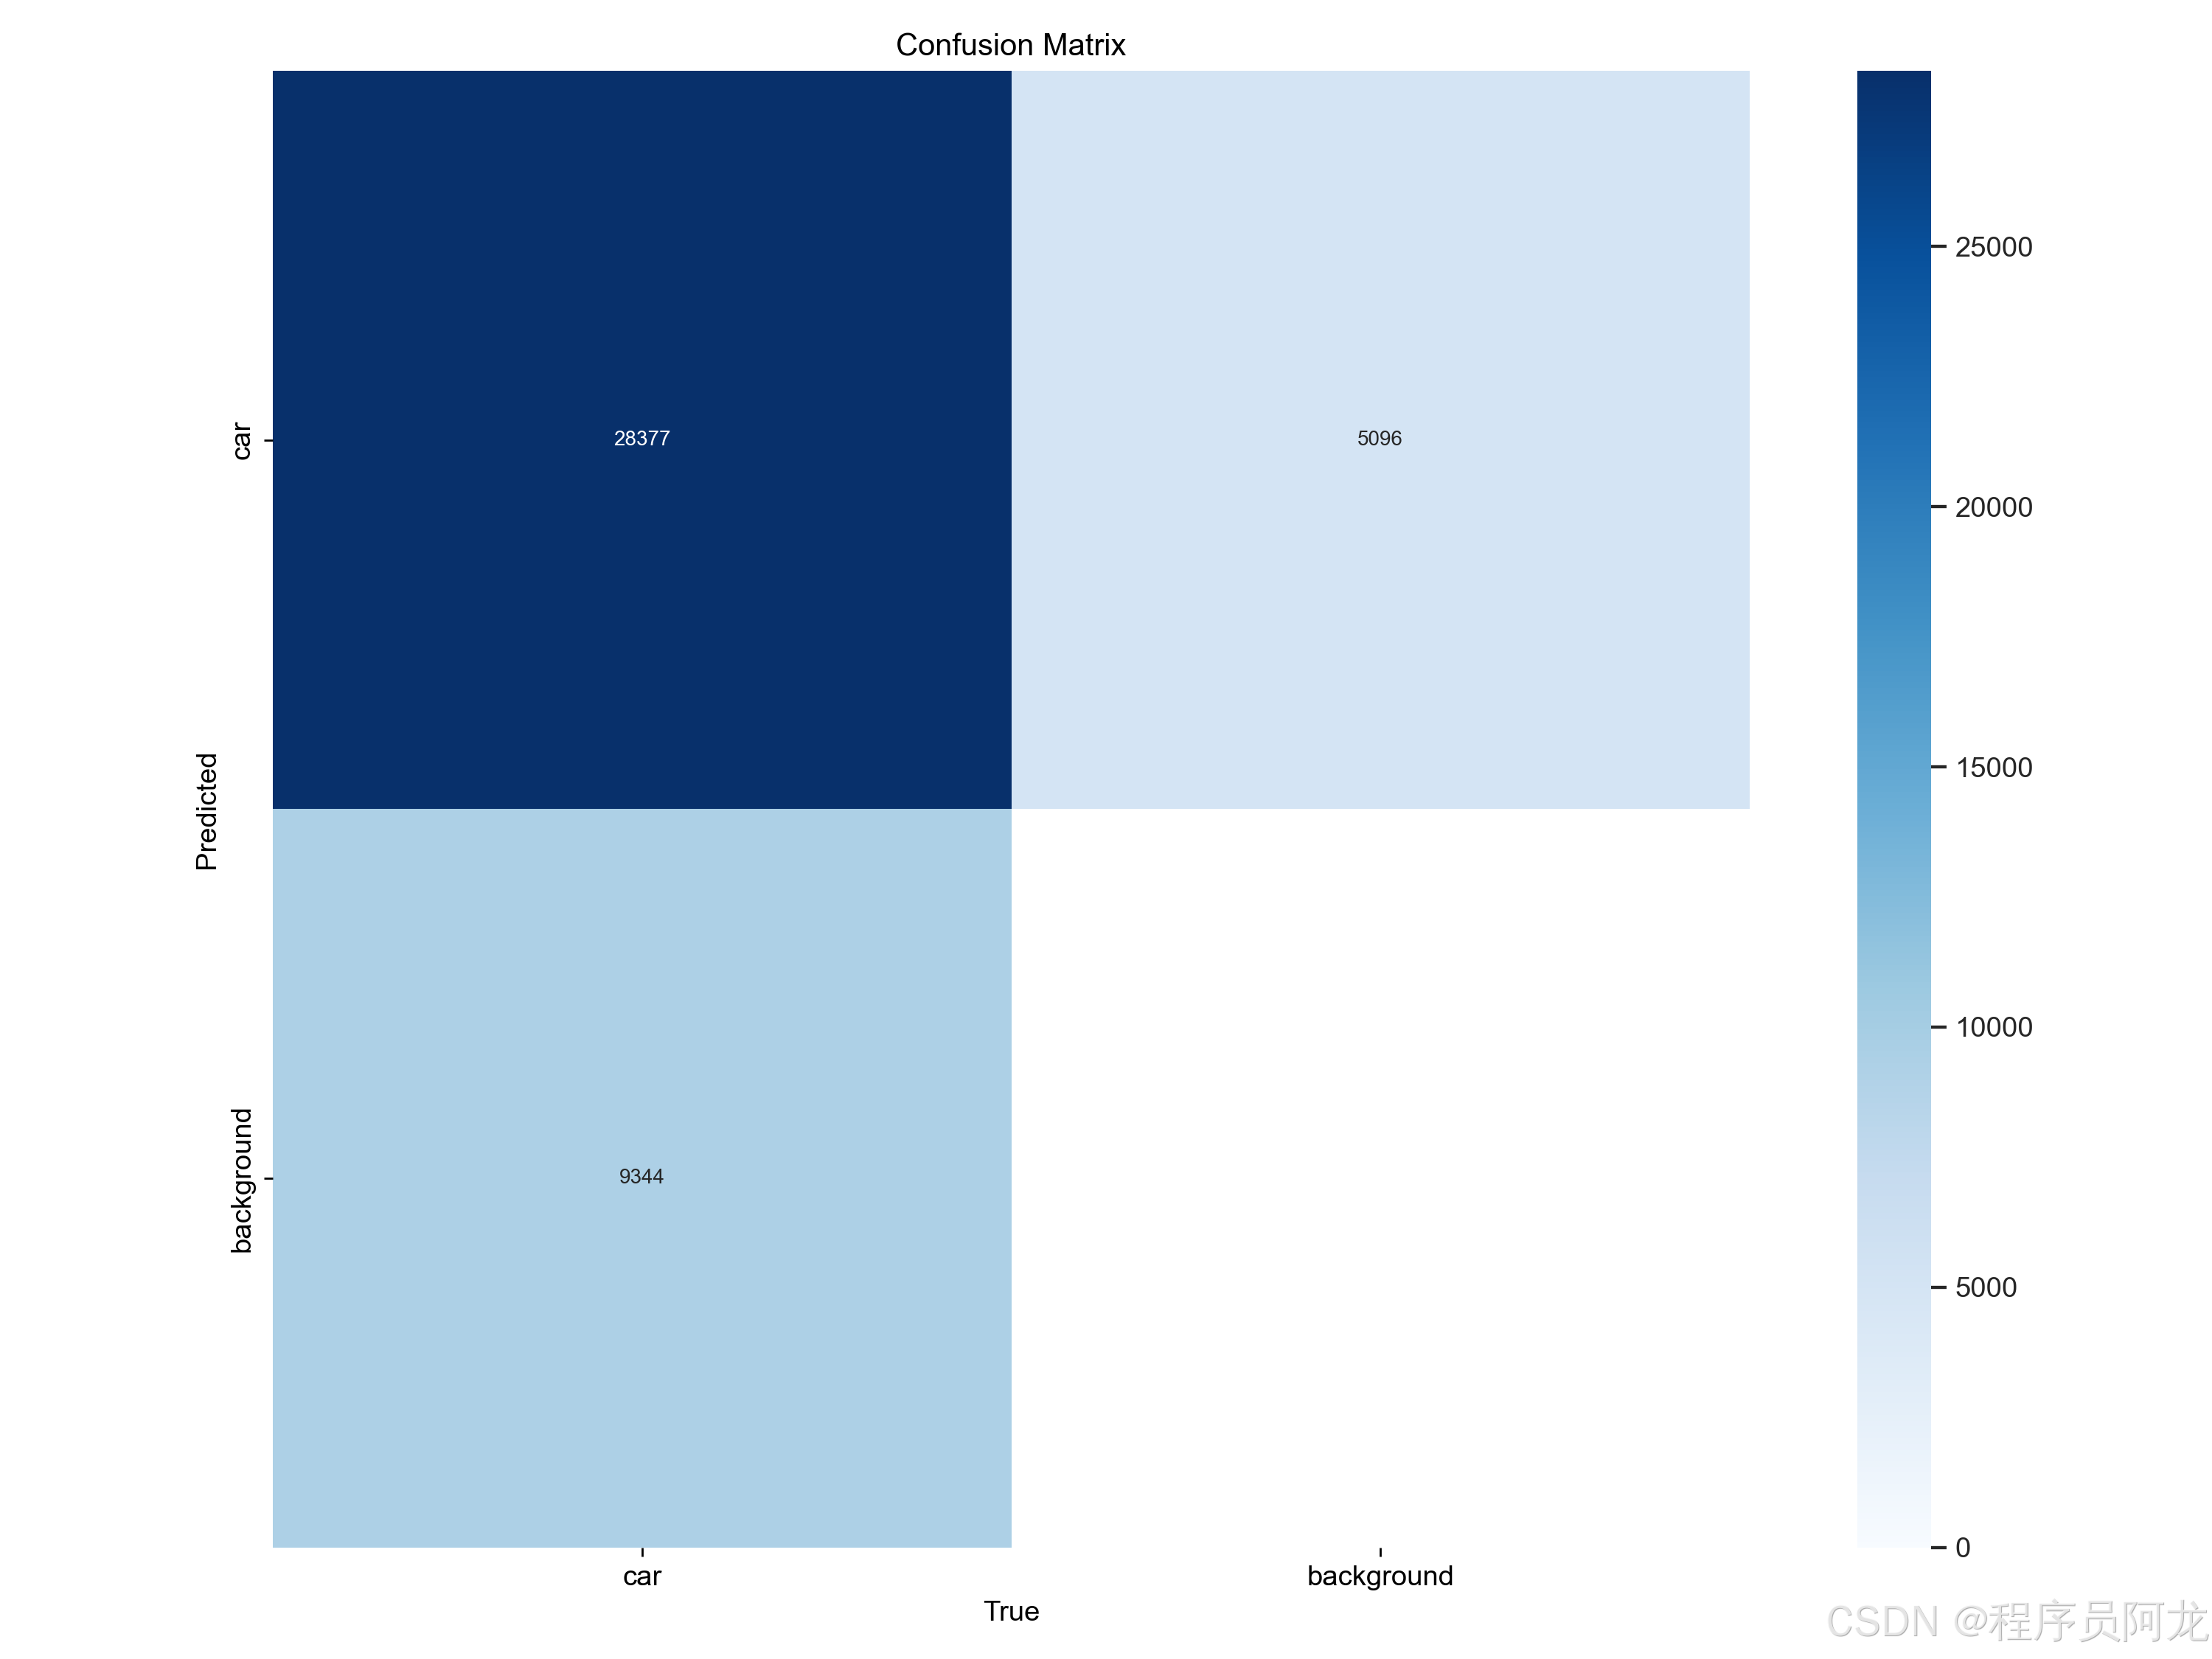
训练数据集合和训练结果
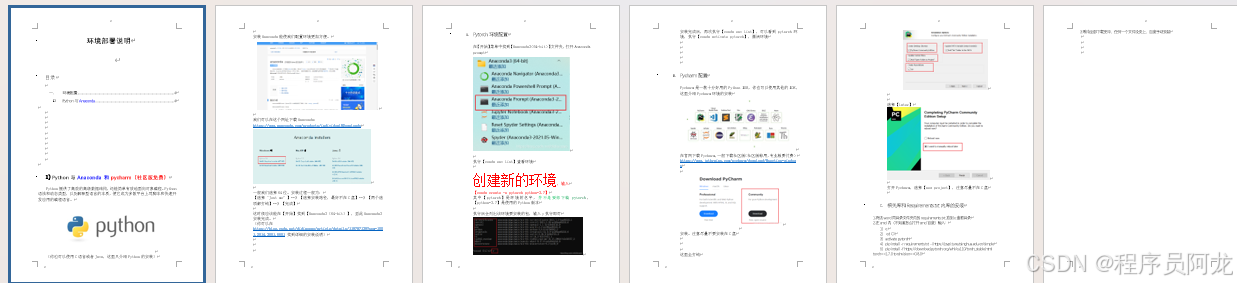
部署教程:

实现代码:
FILE = Path(__file__).resolve()
ROOT = FILE.parents[0]  # YOLOv10 root directory
if str(ROOT) not in sys.path:
    sys.path.append(str(ROOT))  # add ROOT to PATH
ROOT = Path(os.path.relpath(ROOT, Path.cwd()))  # relative

from models.common import DetectMultiBackend
from utils.augmentations import letterbox
from utils.datasets import IMG_FORMATS, VID_FORMATS, LoadImages, LoadStreams
from utils.general import (LOGGER, check_file, check_img_size, check_imshow, check_requirements, colorstr,
                           increment_path, non_max_suppression, print_args, scale_coords, strip_optimizer, xyxy2xywh, scale_segments,scale_boxes)
from utils.segment.general import masks2segments, process_mask, process_mask_native
from utils.plots import Annotator, colors, save_one_box
from utils.torch_utils import select_device, time_sync
import numpy as np
import time


def load_model(
        weights='./best.pt',  # model.pt path(s)
        data=ROOT / 'data/coco128.yaml',  # dataset.yaml path
        device='',  # cuda device, i.e. 0 or 0,1,2,3 or cpu
        half=False,  # use FP16 half-precision inference
        dnn=False,  # use OpenCV DNN for ONNX inference

):

    # Load model
    device = select_device(device)
    model = DetectMultiBackend(weights, device=device, dnn=dnn, data=data, fp16=half)
    stride, names, pt = model.stride, model.names, model.pt

    return model, stride, names, pt


def run(model, img, stride, pt,
        imgsz=(640, 640),  # inference size (height, width)
        conf_thres=0.25,  # confidence threshold
        iou_thres=0.45,  # NMS IOU threshold
        max_det=1000,  # maximum detections per image
        device='',  # cuda device, i.e. 0 or 0,1,2,3 or cpu
        classes=None,  # filter by class: --class 0, or --class 0 2 3
        agnostic_nms=False,  # class-agnostic NMS
        augment=False,  # augmented inference
        half=False,  # use FP16 half-precision inference
        retina_masks=True,
        ):
    imgsz = check_img_size(imgsz, s=stride)  # check image size
    model.warmup(imgsz=(1 if pt else 1, 3, *imgsz))  # warmup

    cal_detect = []
    device = select_device(device)
    names = model.module.names if hasattr(model, 'module') else model.names  # get class names

    # Set Dataloader
    im = letterbox(img, imgsz, stride, pt)[0]

    # Convert
    im = im.transpose((2, 0, 1))[::-1]  # HWC to CHW, BGR to RGB
    im = np.ascontiguousarray(im)

    im = torch.from_numpy(im).to(device)
    im = im.half() if half else im.float()  # uint8 to fp16/32
    im /= 255  # 0 - 255 to 0.0 - 1.0
    if len(im.shape) == 3:
        im = im[None]  # expand for batch dim

    pred, proto = model(im, augment=augment)[:2]

    pred = non_max_suppression(pred, conf_thres, iou_thres, classes, agnostic_nms, max_det=max_det, nm=32)
    # Process detections
    for i, det in enumerate(pred):  # detections per image
        annotator = Annotator(img, line_width=1, example=str(names))
        if len(det):
            # Rescale boxes from img_size to im0 size
            det[:, :4] = scale_boxes(im.shape[2:], det[:, :4], img.shape).round()  # rescale boxes to im0 size
            masks = process_mask_native(proto[i], det[:, 6:], det[:, :4], img.shape[:2])  # HWC
            segments = [
                scale_segments(img.shape if retina_masks else im.shape[2:], x, img.shape, normalize=True)
                for x in reversed(masks2segments(masks))]

            # Write results
            ###############################################
            id_list = []
            for id in range(len(det[:, :6])):
                # print(det[id])
                # print(masks[id])
                class_name = names[int(det[:, :6][id][5])]
                #print(det[:, :6][id])
                #print(class_name)
                # if class_name == 'person':
                # id_list.append(id)

            # print(id_list)

            def del_tensor(arr, id_list):
                if len(id_list) == 0:
                    return arr
                elif len(id_list) == 1:
                    arr1 = arr[:id_list[0]]
                    arr2 = arr[id_list[0] + 1:]
                    return torch.cat((arr1, arr2), dim=0)
                else:
                    arr1 = arr[:id_list[0]]
                    arr2 = arr[id_list[0] + 1:id_list[1]]
                    arr1 = torch.cat((arr1, arr2), dim=0)
                    for id_index in range(len(id_list)):
                        arr2 = arr[id_list[id_index - 1] + 1:id_list[id_index]]
                        arr1 = torch.cat((arr1, arr2), dim=0)
                    return arr1

            det = del_tensor(det, id_list)
            masks = del_tensor(masks, id_list)
            ###############################################


            for j, (*xyxy, conf, cls) in enumerate(reversed(det[:, :6])):
                c = int(cls)  # integer class
                label = f'{names[c]}'
                lbl = names[int(cls)]
                contours = segments[j]
                #print(segments[j])
                if lbl not in ['car','bus','truck']:
                    continue
                cal_detect.append([label, xyxy,float(conf),contours])
    return  cal_detect


def get_largest_contours(contours, num_contours=2):
    """
    该函数接受轮廓,返回面积最大的num_contours个轮廓的点集和距离最远的两个点的坐标。
    :param contours: 输入的轮廓
    :param num_contours: 需要保留的轮廓数量,默认为2
    :return: 返回保留的轮廓的点集和距离最远的两个点的坐标
    """

    # 如果轮廓为空或只有一个轮廓,则返回空列表
    if len(contours) <= 2:
        return contours
    else:
        # 计算每个轮廓的面积并排序
        areas = [cv2.contourArea(c) for c in contours]
        sorted_areas = sorted(zip(areas, contours), key=lambda x: x[0], reverse=True)
        # 保留面积最大的num_contours个轮廓
        largest_contours = [sorted_areas[i][1] for i in range(num_contours)]
        return largest_contours

# 计算点到直线的距离
def point_to_line_distance(x1, y1, x2, y2, x0, y0):
    return abs((y2-y1)*x0 - (x2-x1)*y0 + x2*y1 - y2*x1) / np.sqrt((y2-y1)**2 + (x2-x1)**2)


def find_intersection(p1, p2, p3, p4):
    x1, y1 = p1
    x2, y2 = p2
    x3, y3 = p3
    x4, y4 = p4

    d = (x1 - x2) * (y3 - y4) - (y1 - y2) * (x3 - x4)
    if d == 0:
        return None

    xi = ((x1 * y2 - y1 * x2) * (x3 - x4) - (x1 - x2) * (x3 * y4 - y3 * x4)) / d
    yi = ((x1 * y2 - y1 * x2) * (y3 - y4) - (y1 - y2) * (x3 * y4 - y3 * x4)) / d

    return xi, yi

def find_intersection_and_boundary_points(p1, p2, p3, p4, image):
    x1, y1 = p1
    x2, y2 = p2
    x3, y3 = p3
    x4, y4 = p4

    width, height = image.shape[1],image.shape[0]

    d = (x1 - x2) * (y3 - y4) - (y1 - y2) * (x3 - x4)
    if d == 0:
        return None

    xi = ((x1 * y2 - y1 * x2) * (x3 - x4) - (x1 - x2) * (x3 * y4 - y3 * x4)) / d
    yi = ((x1 * y2 - y1 * x2) * (y3 - y4) - (y1 - y2) * (x3 * y4 - y3 * x4)) / d

    intersection_point = (xi, yi)

    # Find intersections with the bottom boundary
    bottom_boundary_p1 = (0, height)
    bottom_boundary_p2 = (width, height)

    intersection_bottom_1 = find_intersection(p1, p2, bottom_boundary_p1, bottom_boundary_p2)
    intersection_bottom_2 = find_intersection(p3, p4, bottom_boundary_p1, bottom_boundary_p2)

    return intersection_point, intersection_bottom_1, intersection_bottom_2


def det(info1, stop_detection_flag):
    capture = cv2.VideoCapture(0)
    global model, stride, names, pt, jit, onnx, engine
    global model2, stride2, pt2,out_video

    width = int(capture.get(cv2.CAP_PROP_FRAME_WIDTH))
    height = int(capture.get(cv2.CAP_PROP_FRAME_HEIGHT))
    fps = 30
    output_filename = "output_video.avi"
    fourcc = cv2.VideoWriter_fourcc(*'XVID')
    out_video = cv2.VideoWriter(output_filename, fourcc, fps, (width, height))
项目实现案例:

源码获取
文章下方名片联系我即可~
大家点赞、收藏、关注、评论啦 、查看👇🏻获取联系方式👇🏻
精彩专栏推荐订阅:在下方专栏👇🏻
更多推荐
 12
12 0
0- 0


 已为社区贡献13条内容

所有评论(0)